# Installation of Macula Enterprise
Start the installation by double-clicking the Macula Enterprise executable package file. The setup wizard will guide you through the installation process, providing available installation-time options depending on the software package you have chosen. Note that, depending on your Windows UAC configuration, you may have to confirm and/or provide administrative credentials.
We strongly advise that you stop all running third-party applications, as well as stopping antivirus scanning and Windows (and any other) updates during this phase, as these may interfere with the process and result in corrupt installation, which may cause unexpected behavior and hard-to-track issues during further software operation.
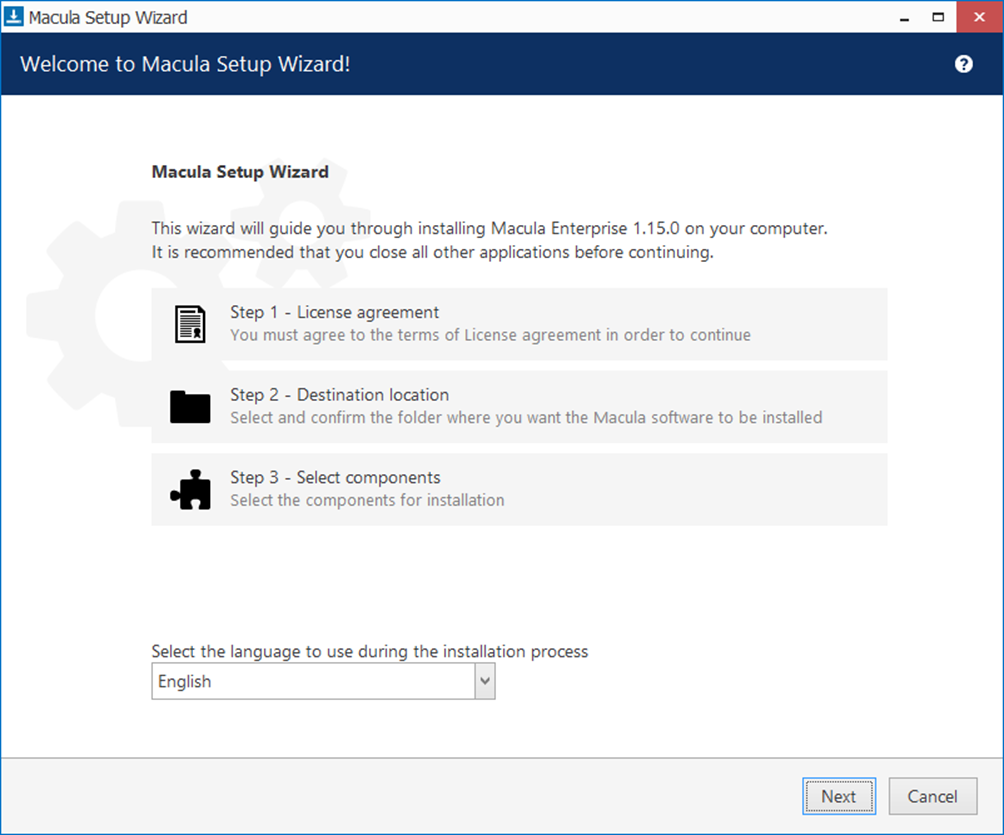
The installation wizard displays an overview of the process; also, you are able to select the installation language here. You will be prompted to select the Macula Enterprise interface language later.
#### Step 1
Carefully read the Macula license agreement: you must agree to all parts of the given document in order to proceed. If you agree, select *I agree...* in order to continue; otherwise, terminate software installation. If you have any questions regarding the contents of the present license agreement, please contact .
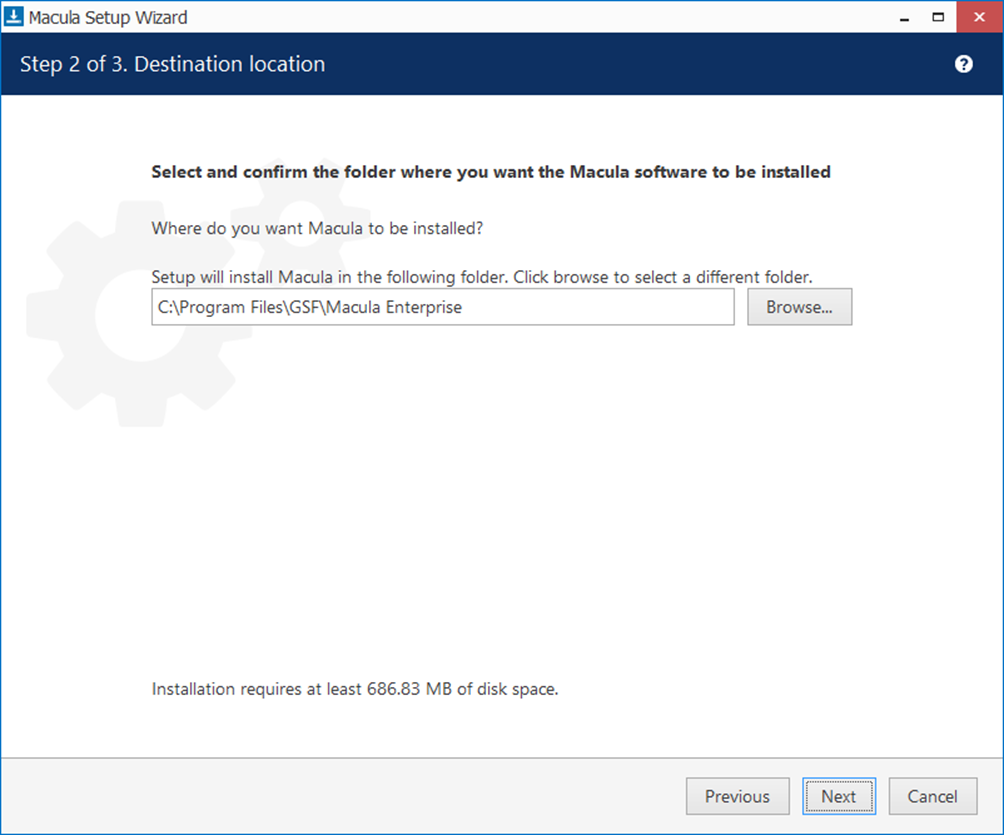
#### Step 2
Select the destination folder you want the software to be installed in. By default, Macula Enterprise is installed in:
32-bit: *C:\Program Files (x86)\GSF\Macula Enterprise*
64-bit: *C:\Program Files\GSF\Macula Enterprise*
If you are re-installing Macula Enterprise and have previously selected a non-default location, make sure to select the same destination directory, or, alternatively, completely uninstall previous Macula Enterprise version. If unsure about this, ask for GSF technical support team assistance. A full description of the software upgrade procedure is available in the corresponding section of the Macula administration manual.
The setup wizard estimates required disk space for you. Make sure you have enough free space on the target disk. Note that low system disk space will dramatically decrease system performance and affect overall system stability.
#### Step 3
Some components are optional and you can choose not to install them. The main Macula Enterprise parts are obligatory and cannot be deselected (by default, these options are selected and grayed out).
If not chosen at this stage, Macula Monitor can be installed later separately.
If you are ready to proceed, hit *Next* to begin the installation. Depending on selected components and host system condition, the process may take some time to complete, so please be patient.
Upon completion, the setup wizard will show you an installation summary. If all the steps have been fulfilled successfully, simply hit *Finish* to close the wizard.
After the installation has been completed, there are a few more steps necessary for you to begin using the software:
* apply server initialization settings via Server Setup Wizard - it will pop up automatically after the installation in case you are doing a clean or a new installation
* activate the software - if it is not activated, the wizard will also pop up automatically
* after you run the console for the first time, you will be offered to complete the Setup Wizard to start the deployment, following the recommended configuration steps