> For the complete documentation index, see [llms.txt](https://gsfcorp.gitbook.io/macula/llms.txt). Markdown versions of documentation pages are available by appending `.md` to page URLs; this page is available as [Markdown](https://gsfcorp.gitbook.io/macula/administration-guide-v1.33.0/server-groups.md).
# Server Groups
For even more convenient management, servers can be separated in a logical way based on their type, location, importance or a number of other characteristics; also, grouping is helpful when it comes to dividing administrators' responsibilities. Groups can be hierarchically nested, i.e. contain other groups, and one server can belong to multiple groups at once.
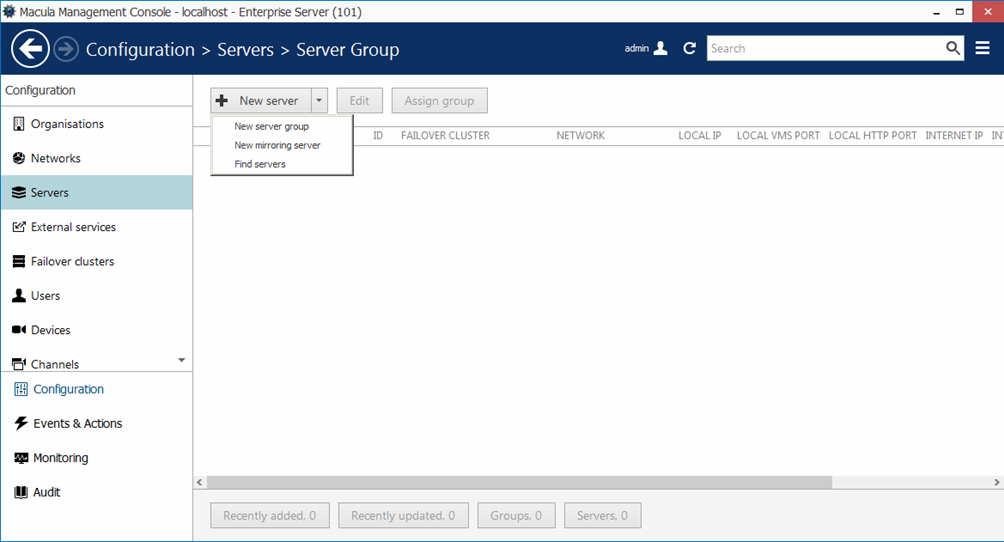
Select *Configuration* in the sections' panel and then click *Servers* in the menu on the left. To add a new group, click the little arrow next to the *+ New server* button and select *New server group*. The corresponding dialog box will appear, allowing you to enter group configuration.
On the *Details* tab, enter a name for the target group of servers.
On the *Members* tab, select which servers and/or server groups you want to be a part of the target server group. You can also leave the group empty at this stage and create them later.
Use double-click or *Add* and *Remove* buttons below to move servers or server groups between the columns.
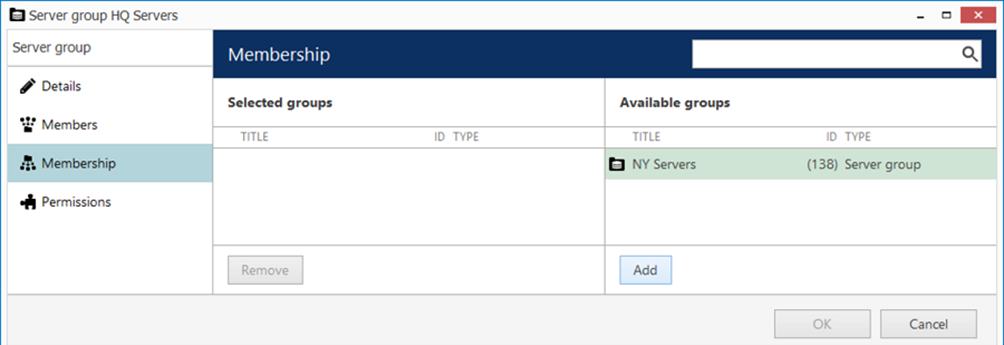
Switch to *Membership* in order to assign this server group to a different, higher level group. Items are handled in exactly the same way: by using buttons below or simply double-clicking.
In the *Permissions* section, you can grant user privileges for the target server group. Permissions will be applied to all servers in the target group. If no user is selected, only the global administrator will be able to administer the servers in this group.
Select a user and grant at least one permission by checking the corresponding row in the *Permissions* column; the user will then automatically appear in the *Selected users* column on the left. To remove a user, clear all his permissions either by manually unchecking them or by using the *Clear* button below; alternatively, just double-click the user name in the list to remove him/her from the list of privileged users.
Once you have finished, click *OK* to close the dialog box. The newly created server group will appear in the item list. Notice how the group icon in the item list differs from the single server icon.
The buttons on the upper panel will offer the following possibilities:
* *Edit*: go back to the dialog box to change selected group settings
* *Assign group*: select server group from the list and make target group a member of it
* *Delete*: remove selected group(s)
* *X*: deselect all
Double-clicking any group in the item list will open the group in the same window (notice the path on the navigation panel), allowing you to create servers directly from inside the group.